
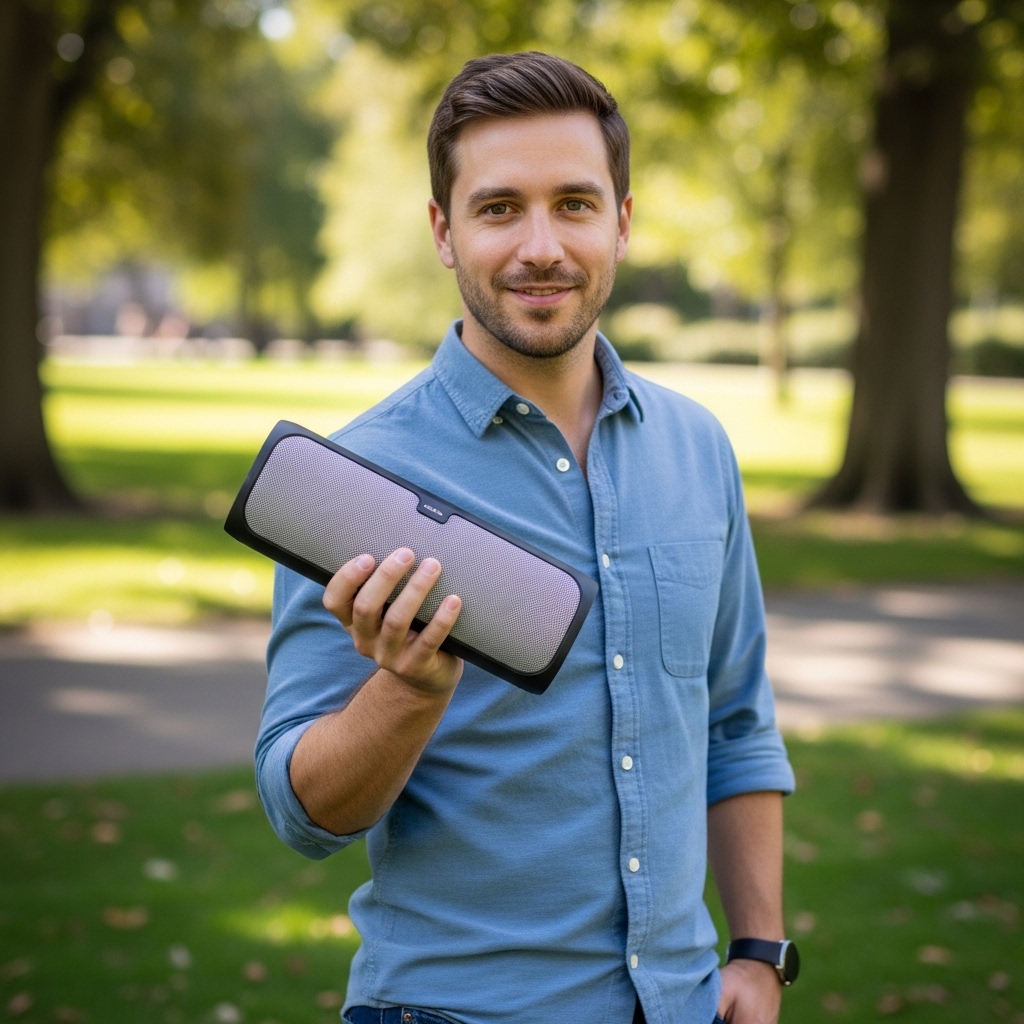

Laptop audio distortion or sudden driver failure can disrupt video calls, media editing, and everyday listening. Determining how much does it cost to fix macbook pro speakers depends heavily on your hardware generation and the repair route you decide to take. While some users turn to external sound setups like dedicated Bluetooth speakers as an interim workaround, fixing the built-in system restores portability and seamless native audio performance.
Official service appointments often bundle speaker repairs with larger assembly replacements, which can lead to higher quotes if your device is outside standard coverage windows. On the other hand, third-party repair shops and self-repair hardware kits provide practical avenues for budget-conscious owners looking to restore balanced acoustic output. By understanding diagnostic checkpoints, component availability, and labor differences, you can accurately estimate your true expenses before committing to a fix.

Everything You Need to Know About MacBook Pro Speaker Repair Costs
Resolving MacBook Pro speaker issues typically falls into three distinct financial categories: warranty coverage, independent professional labor, or direct component replacement. When a machine is covered under active protection plans, the repair may carry zero out-of-pocket expense or a minor accidental handling deductible. Once out of warranty, official service centers often quote higher rates because they may replace an entire top case assembly rather than just individual acoustic drivers. Independent repair facilities charge moderate bench fees plus parts, while sourcing dedicated aftermarket modules enables capable users to resolve sound failure at a minimal component cost.
Understanding the Three Primary Repair Paths and Their Price Implications
Official manufacturer service centers prioritize standardized modular replacements to guarantee consistent factory standards. Technicians frequently replace integrated sub-assemblies containing the battery, keyboard, and speaker enclosures together on certain chassis designs. This approach ensures factory-spec acoustic seals and original component performance, but it drives up overall service invoices significantly for out-of-warranty hardware.
Independent repair technicians take a more targeted approach by extracting only the damaged audio driver module. Labor rates at local repair facilities vary depending on local shop fees and turnaround times, making them a balanced middle tier. Customers generally pay for diagnostic testing alongside technician bench time, but avoid the costly top-case replacement fees typical of authorized centers.
Direct self-repair represents the most budget-conscious path for hardware owners comfortable handling micro-electronics. Replacement driver pairs, such as the MMOBIEL Speaker Set Left and Right Replacement, cost only a fraction of any professional repair quote. However, going this route shifts the responsibility of safe chassis disassembly, delicate cable routing, and proper sealing entirely onto the user.
Pre-Repair Diagnostics: Isolating Software Glitches from Physical Hardware Damage
Before investing money in repair services or ordering replacement parts, you should verify that your speaker issue is truly mechanical. Software conflicts, core audio daemon glitches, and corrupted sound preferences can mimic physical driver blowouts by producing crackling, stuttering, or total silence. Running built-in hardware diagnostics by restarting your machine while holding down the appropriate diagnostic key combination helps clarify whether the operating system detects an internal audio bus failure.
Resetting low-level hardware controllers, such as the System Management Controller and non-volatile memory parameters on older Intel configurations, frequently clears unexpected audio anomalies. Testing audio output across multiple applications, including standard browser playback and dedicated system alert sounds, also isolates whether the distortion is application-specific. If the sound remains distorted across all sources, plugging in wired headphones or pairing wireless devices provides an immediate baseline.
Clear headphone playback combined with persistent internal speaker distortion almost always confirms physical membrane or voice-coil damage. Conversely, if crackling or dropouts persist even through external audio outputs, the problem likely stems from logic board audio codecs or operating system corruption rather than the speaker drivers themselves. Pinpointing the actual fault prevents unnecessary hardware purchases and clarifies the exact repair scope you need to address.
Physical Mechanisms of Speaker Failure: Why Laptops Develop Audio Rattle
MacBook Pro speakers rely on miniature dynamic drivers housed inside tuned acoustic chambers designed to maximize low-frequency response within tight chassis constraints. Over years of thermal cycling and mechanical vibration, the delicate rubber or silicone foam surround suspending the speaker cone can dry out, crack, or tear. Once the surround separates from the housing, air leaks destroy acoustic damping and cause the voice coil to rub against the internal magnet structure.
High-volume media playback, particularly content with heavy low-frequency equalization or uncompressed audio peaks, can physically over-extend these miniature driver cones. Dust, metal shavings, and fine environmental debris drawn in by internal cooling fans can also settle into the acoustic chambers through the top-case speaker grilles. Foreign particles resting against the speaker cone vibrate during playback, producing an irritating buzzing noise that sounds identical to a blown voice coil.
Liquid ingress represents another frequent cause of sudden speaker failure. Even tiny droplets of spilled liquid or accumulated condensation can corrode the microscopic lead wires connecting the logic board audio trace to the speaker cone. Once corrosion breaks the circuit or creates a partial short, volume drops dramatically or the channel cuts out completely, requiring physical driver replacement to solve.
Chassis Generation Differences and Labor Complexity
The physical design of your laptop heavily dictates both repair difficulty and third-party labor charges. Older unibody and early Retina models, such as the fifteen-inch chassis produced between late 2012 and mid-2015, utilize modular speaker assemblies secured with standard Torx screws. These units are relatively accessible once the bottom cover is removed, keeping labor turnaround quick and shop fees lower.
In contrast, newer iterations featuring compact chassis profiles, glued battery packs, and integrated acoustic chambers require substantially more labor to disassemble. Technicians may need to extract the entire logic board, disconnect fragile ribbon cables, or navigate adhesive strips just to access the driver enclosures. This added disassembly time directly increases professional labor invoices at independent shops, making older models much more economical to service.
Understanding your specific model identifier is critical before purchasing replacement hardware or obtaining service quotes. You can locate your exact machine number etched on the bottom exterior case or in the system report overview. Sourcing parts built specifically for your chassis layout ensures mounting screw alignment, connector pin matching, and proper chamber sealing.
DIY Component Replacement with Aftermarket Driver Sets
Sourcing standalone left and right driver assemblies allows owners of older machines to bypass costly professional service fees. Aftermarket replacement kits, like the MMOBIEL Speaker Set Left and Right Replacement, offer matched stereo modules designed to fit specific chassis architectures, including the classic Retina A1398 platform. These kits replicate factory mounting brackets and connector orientations, allowing direct installation without structural modifications.
Opting for self-repair requires an honest appraisal of your technical comfort level and dexterity. While swapping modular speakers on compatible generations avoids complex board soldering, it still demands precise handling of miniature fasteners and delicate ribbon connections. Missing a step or stripping a screw thread can turn a simple audio repair into a frustrating hardware headache.
For readers who prefer hands-on maintenance, self-repair provides an immensely satisfying way to extend the operational life of an otherwise powerful laptop. Spending a modest amount on replacement hardware preserves your financial resources compared to paying high shop labor fees. It also avoids premature device retirement, keeping capable workstations functional for years to come.
Workspace Preparation and Necessary Tools for Self-Service
Attempting an internal speaker swap requires dedicated precision tools rather than household implements. Most Apple chassis utilize specialized pentalobe screws on the bottom exterior plate, followed by various Torx bits for internal mounting points. Using mismatched or oversized screwdriver tips will quickly strip fastener heads, creating severe removal complications that compromise the chassis.
In addition to precision drivers, a non-conductive nylon spudger, fine tweezers, and an anti-static wrist strap or grounded mat are essential for safety. Static discharge can instantly destroy sensitive logic board traces or memory modules during internal manipulation. Creating an organized workspace with labeled screw trays ensures that fasteners of varying lengths return to their exact factory locations during reassembly.
Proper lighting and a clean, flat surface prevent accidental loss of micro-fasteners and rubber acoustic gaskets. Disconnecting the internal battery connection must always be your very first physical action before touching speaker connectors or ribbon cables. Cutting all power eliminates the risk of accidental electrical shorts while handling metallic tools inside the computer.
Key Installation Steps and Critical Component Precautions
Once the chassis is grounded and the battery safely disconnected, removing the existing speaker modules requires methodical care. On models like the Retina platform, the left and right speakers sit nestled near the cooling fans and perimeter edges. Technicians and DIY users must carefully disconnect the speaker harness connectors by lifting straight upward rather than pulling on fragile lead wires.
Many speaker housings also incorporate or sit adjacent to sensitive antenna cables, microphone arrays, or I/O board interconnects. Routing replacement cables through the factory cable channels is necessary to avoid pinching wires when replacing the bottom chassis panel. Rushing through cable seating can sever insulation or create pressure points that lead to intermittent audio failures down the line.
Securing the new speakers requires snug fastener tension without overtightening into the aluminum chassis threads. Proper seating ensures that the integrated rubber vibration dampeners make uniform contact with the surrounding metal. Uneven mounting pressure can induce cabinet rattles or buzzes during low-frequency reproduction, defeating the purpose of the replacement.
External Audio Alternatives: When Repair May Not Make Financial Sense
If an out-of-warranty diagnostic reveals logic board damage or if a laptop is approaching retirement, investing in internal hardware repair may not be practical. In these circumstances, pairing your computer with external music speakers or utilizing a desktop audio interface can provide superior sound quality without internal teardown expenses. External setups bypass internal amplification entirely, rendering speaker driver failures irrelevant for stationary workstations.
Desktop sound systems, compact soundbars, or USB-powered speakers also deliver far wider frequency response and greater dynamic headroom than tiny laptop transducers ever could. If your laptop rarely leaves a desk or home studio, redirecting repair funds toward dedicated desktop audio gear offers substantial fidelity upgrades. This path provides richer bass, clearer mid-range vocal definition, and zero risk of disassembly mishaps.
Portable Bluetooth speakers or wireless headphones represent another convenient alternative for users on the move. While relying on external gear sacrifices the convenience of opening your laptop and hearing immediate system alerts, it provides an instant, zero-risk solution when replacement parts or service budgets are restricted.
Verification, Post-Repair Testing, and Long-Term Driver Care
After securing replacement modules and reattaching the bottom plate, thorough audio verification ensures the repair succeeded. Begin by booting into the operating system and opening system sound preferences to adjust balance between left and right channels individually. Listening to dedicated frequency sweeps from low bass notes through high treble frequencies reveals whether any residual buzzing, rattle, or channel imbalance remains.
Testing dynamic range across different volume levels confirms that both drivers handle sudden audio transients cleanly. If you hear unexpected vibration at moderate volume, reopen the bottom casing to inspect cable routing and verify that rubber mounting grommets are seated flush. Taking time to double-check structural placement eliminates irritating acoustic resonance before you return the computer to daily productivity.
Protecting newly installed speakers involves simple everyday usage habits. Avoid running software audio boosters that push volume beyond standard operating limits, as artificial gain easily overheats delicate voice coils. Keeping the laptop grilles clean with gentle brush strokes and avoiding dusty environments prevents foreign particles from penetrating the acoustic enclosures, ensuring your repaired audio system sounds crisp for years.




Write Your Review
No reviews yet. Be the first to share your experience!